Adding a lift to an already-built home is easier than most owners think. The complete retrofit guide: where the lift can go, pitless and steel-shaft options, real costs, civil work, timelines and mistakes to avoid.
The short answer
The best way to install a lift in an existing house is a pitless, low-headroom home lift inside a structural-steel shaft — it needs as little as 1000×1000 mm of floor space, a 150 mm pit (or none), no machine room, and typically 4–8 weeks of total work with minimal demolition. In Bengaluru, a complete retrofit from Vila Elevators costs ₹6–10 lakhs including the steel shaft, and begins with a free site survey that identifies the ideal location in your home.
Step 1: choose the location (four proven options)
Stairwell void: the empty core of a winding staircase often fits a compact lift perfectly — zero room lost. Beside the staircase: the most common choice, using hallway space on each floor. Exterior wall: the lift rides in a steel-and-glass shaft outside the house, entering through converted windows or new openings — zero interior space lost. Balcony stack: vertically aligned balconies convert cleanly into lift lobbies. A site survey settles this in one visit by checking floor alignment, beam positions and headroom.
Step 2: pick pitless + steel shaft (the retrofit formula)
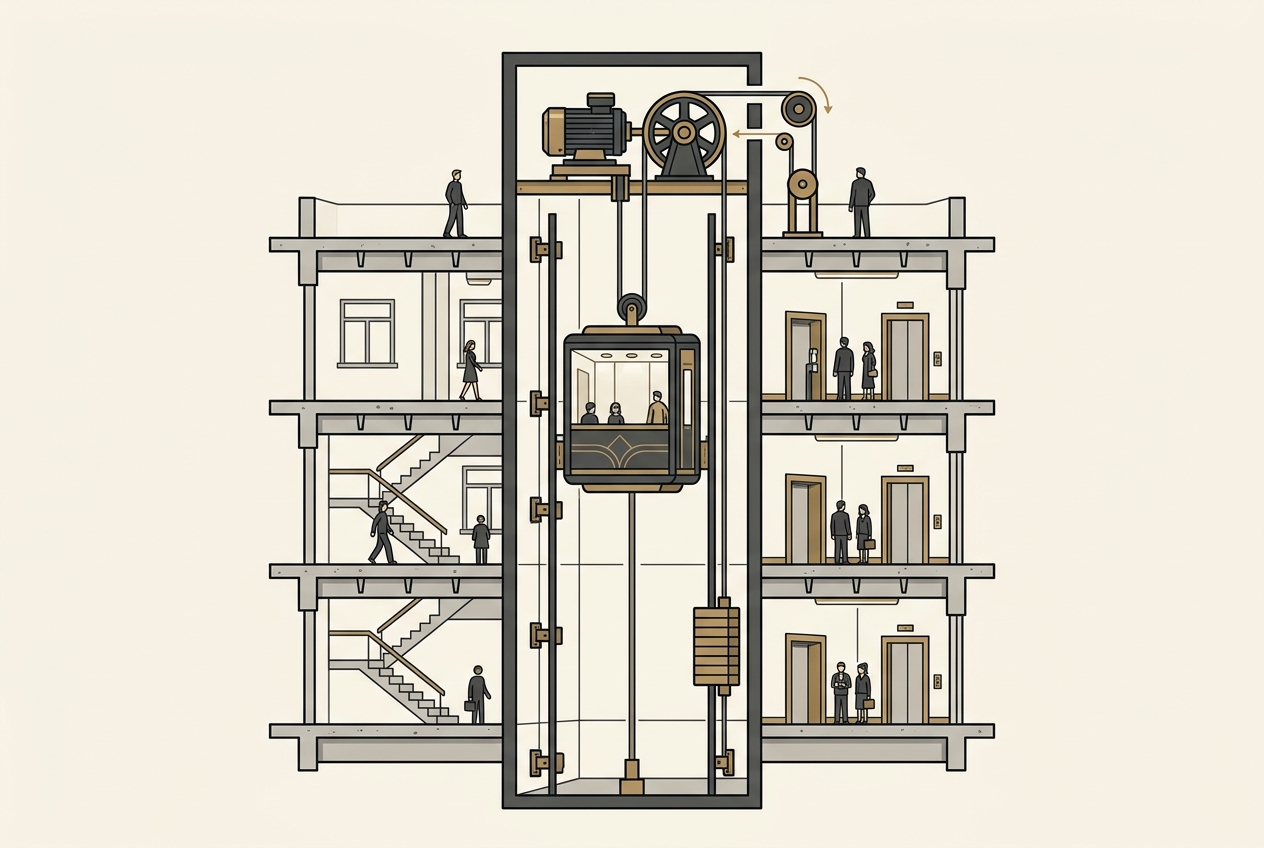
Traditional lifts need a 1.2–1.5 m concrete pit and a machine room — major demolition in a finished home. Modern retrofit lifts eliminate both: pitless designs need just a 100–150 mm recess (or a small ramp), low-headroom models fit under 2.6 m ceilings, and the machinery lives inside the shaft. The shaft itself is prefabricated structural steel, erected in days and clad in glass or panels — no wet construction, no months of dust.
Step 3: hydraulic or traction for a retrofit?
For most existing homes (G+1 to G+3), hydraulic wins: whisper-quiet, no counterweight, gentle on the structure, and battery lowering during power cuts. For taller homes or heavy daily use, MRL traction uses 30–40% less energy. Vila manufactures both in Bengaluru and recommends after measuring your site — beware companies that only sell one technology and always recommend it.
What it costs and how long it takes
Realistic Bengaluru numbers: lift ₹6.5–8 lakhs (standard finishes), structural-steel shaft ₹1.5–3 lakhs depending on height and cladding, minor civil work ₹30,000–80,000. Total: ₹6–10 lakhs for most 2–3 floor retrofits. Timeline: survey and design 1 week, manufacturing 6–8 weeks (local factory), shaft erection 3–5 days, lift installation 1–2 weeks, commissioning 2–3 days. Your home remains fully livable throughout.
The five retrofit mistakes to avoid
1) Skipping the structural assessment — floors must carry shaft loads at each landing. 2) Buying the lift before finalizing the location — dimensions drive everything. 3) Choosing an imported unit for a retrofit — custom shaft sizes are exactly where local manufacturing flexes. 4) Forgetting the power line — a dedicated 3–5 kW connection is needed. 5) Ignoring the door swing — swing doors need clearance on every landing; automatic sliding doors solve tight spaces for about ₹60,000–1 lakh extra. A proper site survey catches all five — Vila's is free anywhere in Karnataka: +91 90712 21100.
Get a personalized quote for your building.
Our engineering team will review your requirements and respond within one business day.
Request A Quote